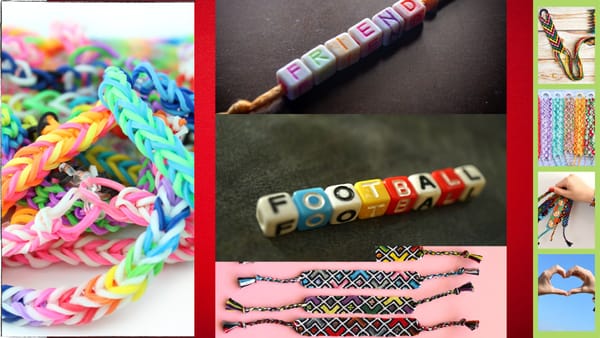


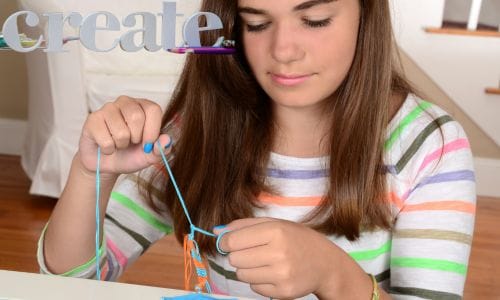
Ready to weave a “friendship bracelet zig zag” pattern into your next friendship bracelet? This step-by-step tutorial cuts straight to the chase, offering practical advice to achieve that distinctive zig zag appeal.
Discover essential knotting techniques, determine the perfect string lengths, and get creative with color selection. Ideal for both beginners and avid crafters, this guide ensures your friendship bracelet zig zag turns out exceptionally well.
Key Takeaways
- The zig zag friendship bracelet pattern is popular for its cool 3D effect and unique visual appeal, with a variety of creative variations to explore.
- Proficiency in forward and backward knotting techniques is key, ensuring consistent tension for a straight, centered zig zag pattern without unwanted curling.
- Adding finishing touches like ribbon crimps and clasps enhances durability and wearability while sharing your creation online can connect you with a community of fellow crafters.

Decoding the Zig Zag Friendship Bracelet Pattern
Gathering Your Materials for the Zig Zag Bracelet
Planning Your Zig Zag Pattern
Knotting Techniques for the Zig Zag Design
Crafting the First Row of Your Zig Zag Bracelet
Advancing Your Bracelet: String by String
Tips for Maintaining Even Tension Throughout
Finishing Touches: Securing and Sealing Your Bracelet
Showcasing Your Completed Zig Zag Friendship Bracelet
Creative Variations on the Classic Zig Zag Pattern
Troubleshooting Common Issues While Knotting
Summary
FAQs (Frequently Asked Questions)
Decoding the Zig Zag Friendship Bracelet Pattern
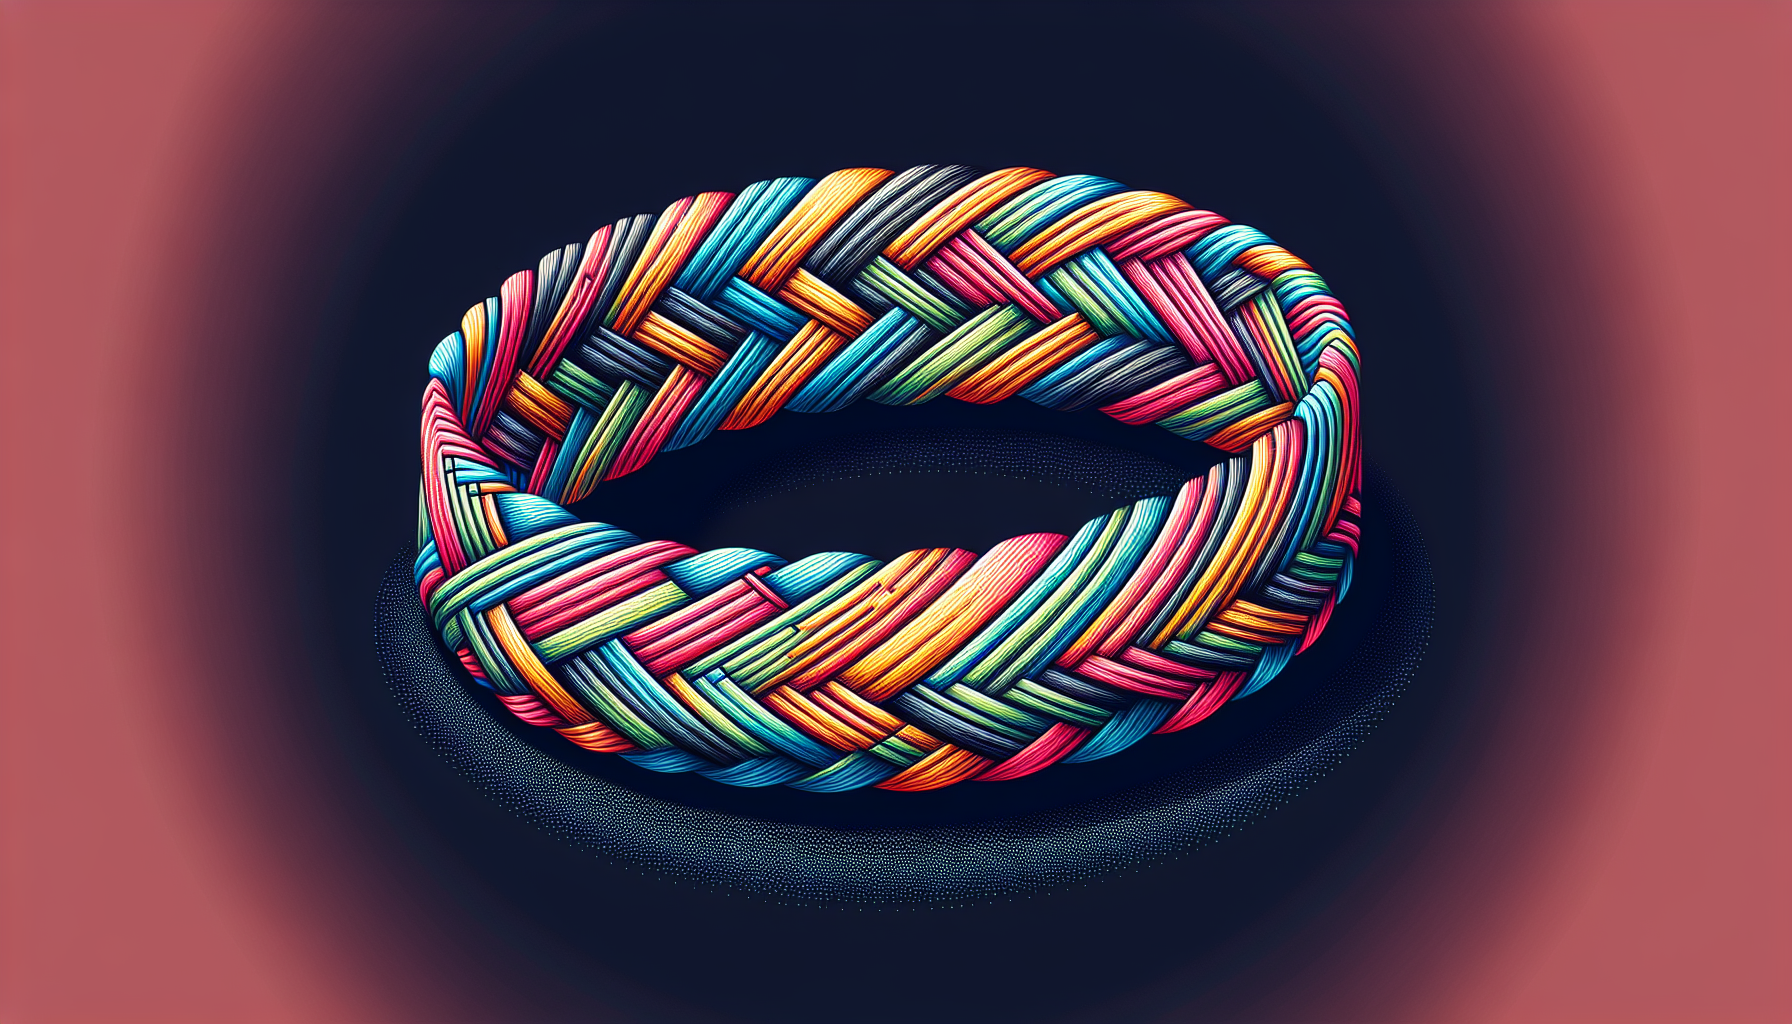
The zig zag pattern is a popular choice for DIY friendship bracelets, mainly due to its cool 3D effect. Plus, the ribbon-like aesthetic adds a unique visual appeal that sets it apart from other bracelet styles.
It’s not a new fad either. The zig zag friendship bracelet pattern traces its roots back to the early 2000s, where it became a hit among younger demographics.
Over time, this classic pattern has evolved. Creative craft enthusiasts have developed variations, such as a more pronounced 3D zig zag effect, adding an extra layer of complexity and visual appeal to the design.
So, whether you’re a beginner or an experienced craftsperson, there’s always something new to learn and explore with the zig zag pattern.
Gathering Your Materials for the Zig Zag Bracelet
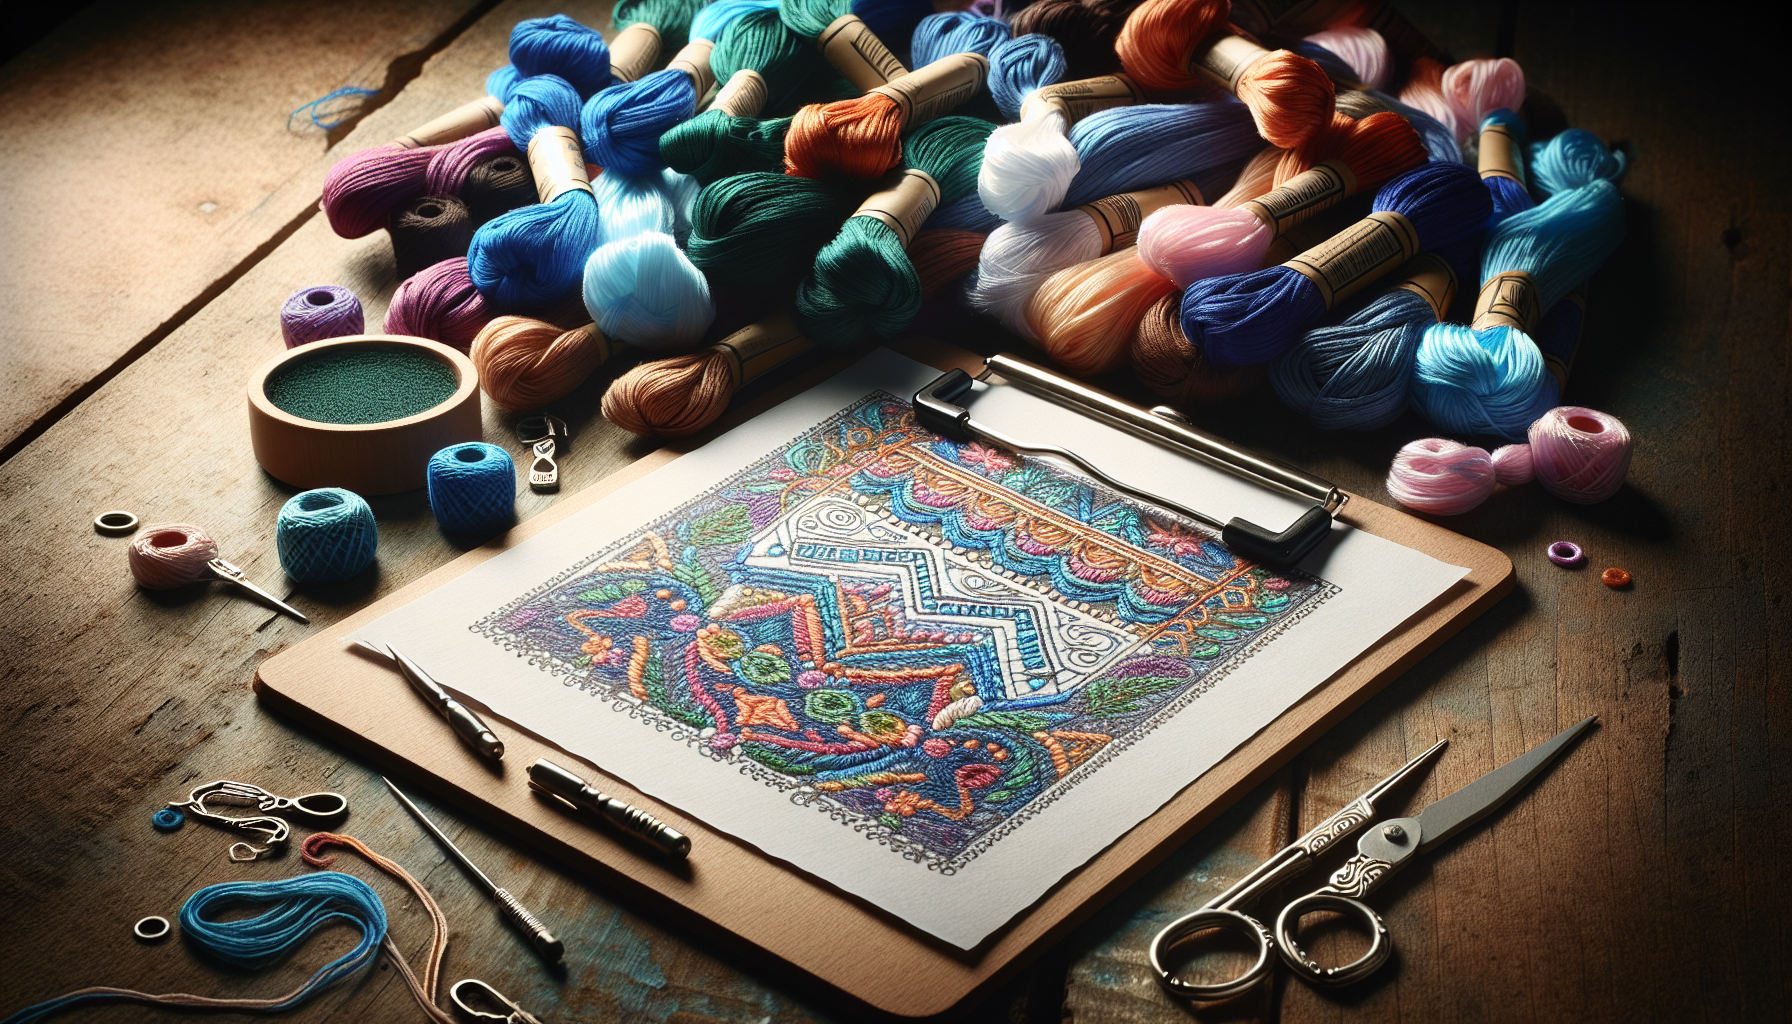
Initiating your zig zag friendship bracelet journey entails assembling your materials. The primary material you’ll need is embroidery floss.
With a variety of colors available, from basic to bright and even neon, you can customize your bracelet to reflect your personal style. Open-stock embroidery threads offer a range of unique shades, perfect for creating a striking zig zag friendship bracelet.
Once you’ve chosen your colors, cut the strings to the desired length. The lengths should increase progressively for each color in the gradient to create a stunning visual effect.
And don’t forget to secure your bracelet with a clipboard or similar tool while working; it’ll make your crafting experience much smoother.

Planning Your Zig Zag Pattern
The key to a visually captivating zig zag pattern lies in the correct selection of colors. Graduating shades of the same color or analogous colors can create a stunning 3D effect.
In a zig zag friendship bracelet, the lightest shade forms the largest zigzag, while the darkest shade sits at the corners, contributing to a 3D ribbon effect. For example, using blue strands in different shades can achieve this captivating look.
To enhance the gradient and 3D effects even further, consider starting with white and ending with black. Additionally, including a ‘joker’ color of string, which won’t be visible in the finished bracelet, can complement the other chosen colors during the crafting process.

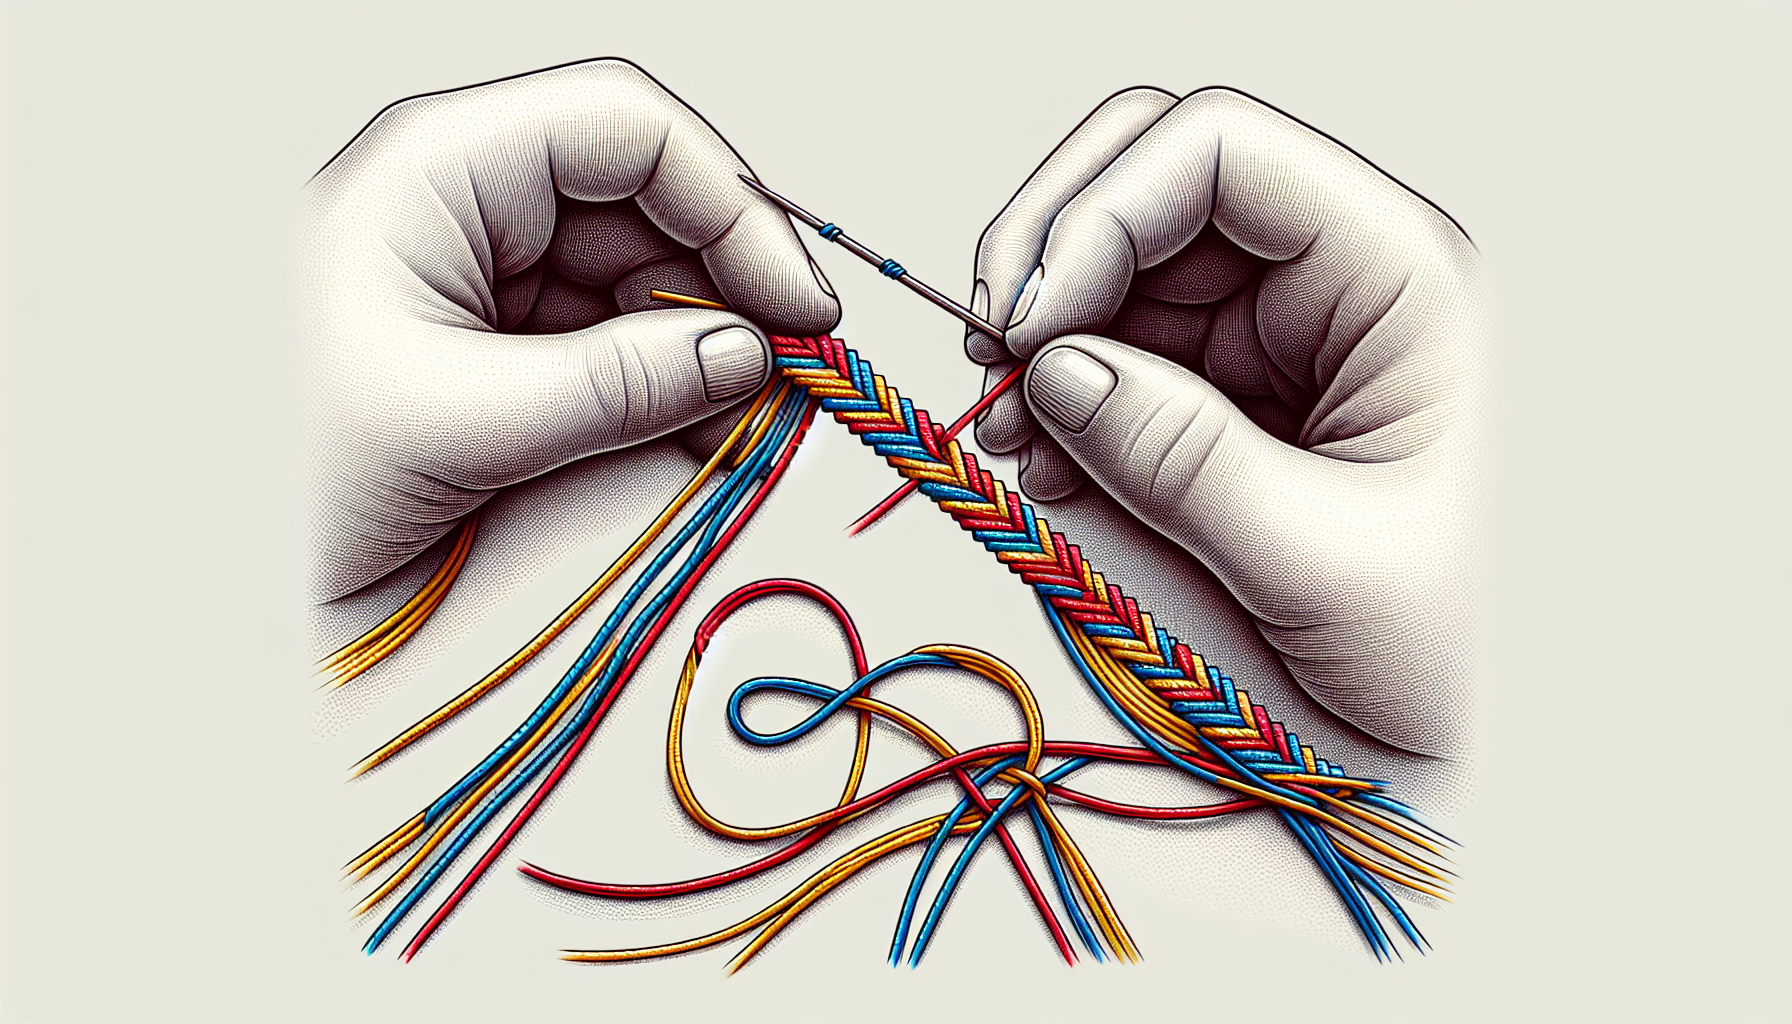
Knotting Techniques for the Zig Zag Design
Developing the zig zag friendship bracelet pattern necessitates proficiency in two crucial knotting techniques: forward and backward knots.
Consistent tension in knots is vital for keeping the zig zag pattern centered and straight. By adjusting the pulling angles while knotting, you can achieve a more consistent zig zag pattern.
If your bracelet starts to curve, changing the direction of pulling the string during knotting can help straighten it.
Mastering Forward Knots
Forward knots play a pivotal role in the zig zag pattern, shaping the diagonal stripes that constitute the base. Each stitch in the zig zag pattern consists of a double knot, created when tying a forward knot.
To create a forward knot:
- Take the lightest color thread and knot it twice around the thread to its right.
- This simple yet effective technique contributes to the front-side pattern of your bracelet.
- Remember, mastering this knot is crucial as it forms the basis of your zig zag pattern.
Perfecting Backward Knots
Backward knots too, hold substantial importance in the zig zag pattern. These knots reverse the direction of knotting, an essential step in creating the zig zag design.
After you’ve completed a series of forward knots, you’ll use backward knots to change the direction of the working string and continue the zig zag pattern.
To tie a backward knot, follow these steps:
- Double knot the strings from right to left, which is the exact opposite of how forward knots are tied.
- Starting from the right side, the backward knot technique in zig zag friendship bracelets mirrors the forward knot steps but in reverse order.
- After finishing a sequence of forward knots with diminishing numbers on one side, the pattern is mirrored using backward knots starting from the right side to complete each round.
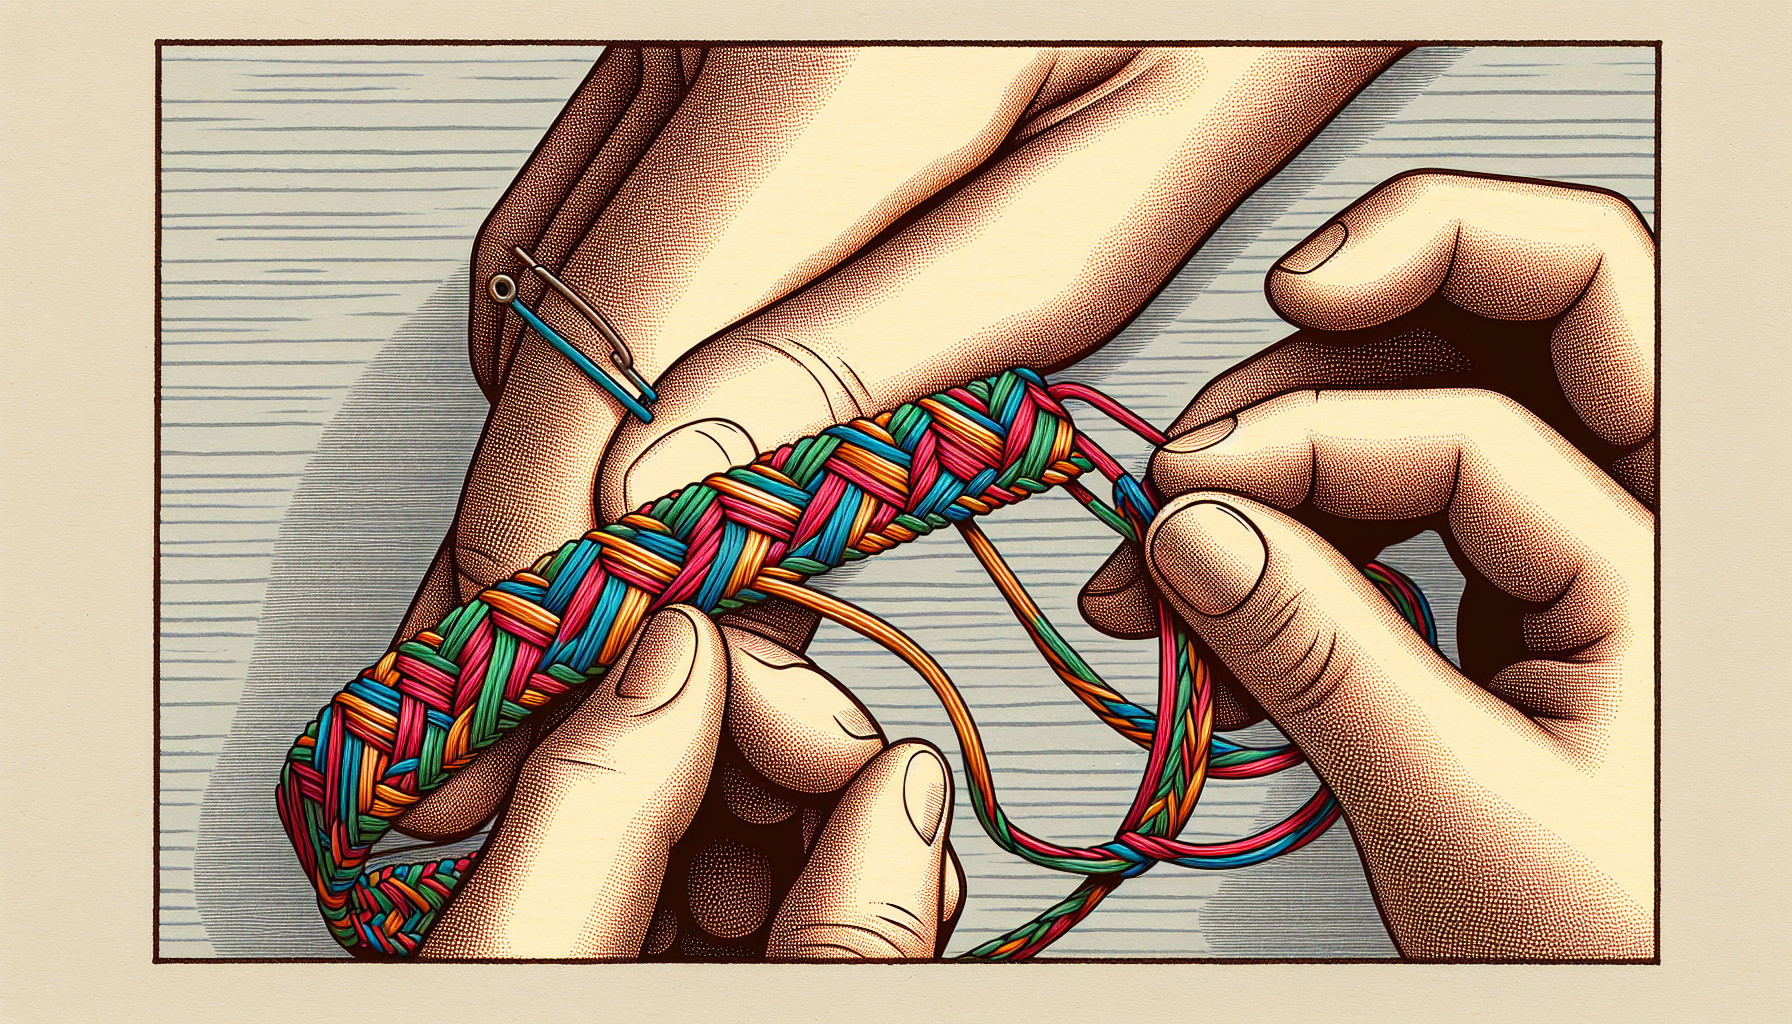
Crafting the First Row of Your Zig Zag Bracelet
With a solid grasp of the knotting techniques, you can now commence the crafting of your zig zag friendship bracelet. Begin by gathering eight strings of chosen colors and tie them all together at one end with enough slack for a clasp or direct wrist tying. Ensure the first string is longer for knotting.
Then, start crafting the first row. Use the first, longest string to tie seven forward knots in succession onto the other strings.
Follow a light to dark or dark to light color sequence for maximum visual effect. Remember, the very first knot’s position relative to the initial tying point is crucial for promoting consistency and an even zig zag pattern throughout the bracelet.
To maintain string order and tension while executing the first row of knots, consider securing the knotted end to a flat surface using tape. Once you reach the last string, you’ll be ready to move on to the next string and start the next row.
Advancing Your Bracelet: String by String
While progressing with your zig zag friendship bracelet, ensure you alter directions upon the completion of a row using forward knots. Begin with the rightmost string and use backward knots to create the signature zig zag pattern.
Maintaining the tightness and evenness of knots is also crucial. Here are some tips:
- Avoid pulling too tightly
- Make the first few knots of a new row slightly looser for adjustments
- For problematic knots, such as those in side triangles, tying them slightly tighter can result in a more consistent appearance.
To reduce the sharpness of the zig zag angles and prevent curling, consider using a forward-backward knot at the end of a row and position the knots closely for an organized look.

Tips for Maintaining Even Tension Throughout
For a smoother, uniform zig zag pattern, it is pivotal to uphold a consistent tension. This requires:
- Patience and attentiveness to the tightness of each knot
- Making sure all knots are tied with equal tightness
- Holding the base string straight
- Applying a consistent pull
By following these steps, you can achieve a more consistent and uniform zig zag pattern, similar to a candy stripe design.
Ensuring that all knots are tied with the same tightness can prevent strings from popping out, leading to a smoother overall look. And if you notice one side becoming tighter, you might need to reposition the already completed parts of the bracelet to keep the pattern even.
Remember, adjusting the tension and pulling direction of knots can solve patterning issues, such as large holes, ensuring a more uniform zig zag pattern.
Finishing Touches: Securing and Sealing Your Bracelet
Upon completing the knotting of your zig zag friendship bracelet, proceed to fasten and seal it. Tie the strands together about an inch from the end if you’re adding a clasp or two inches if you’re planning to tie it on the wrist.
Reinforce the start and end with a secure knot that can be glued for durability.
For a professional finish, consider adding ribbon crimps to the secured knots at the end of the bracelet. Here’s how:
- Widen the crimps before use.
- Close them tightly to secure the knots inside.
- After securing the knots with ribbon crimps, trim any excess thread protruding to ensure a clean and polished appearance.
Finally, attach a connector and clasp to enhance the bracelet’s wearability.
Showcasing Your Completed Zig Zag Friendship Bracelet
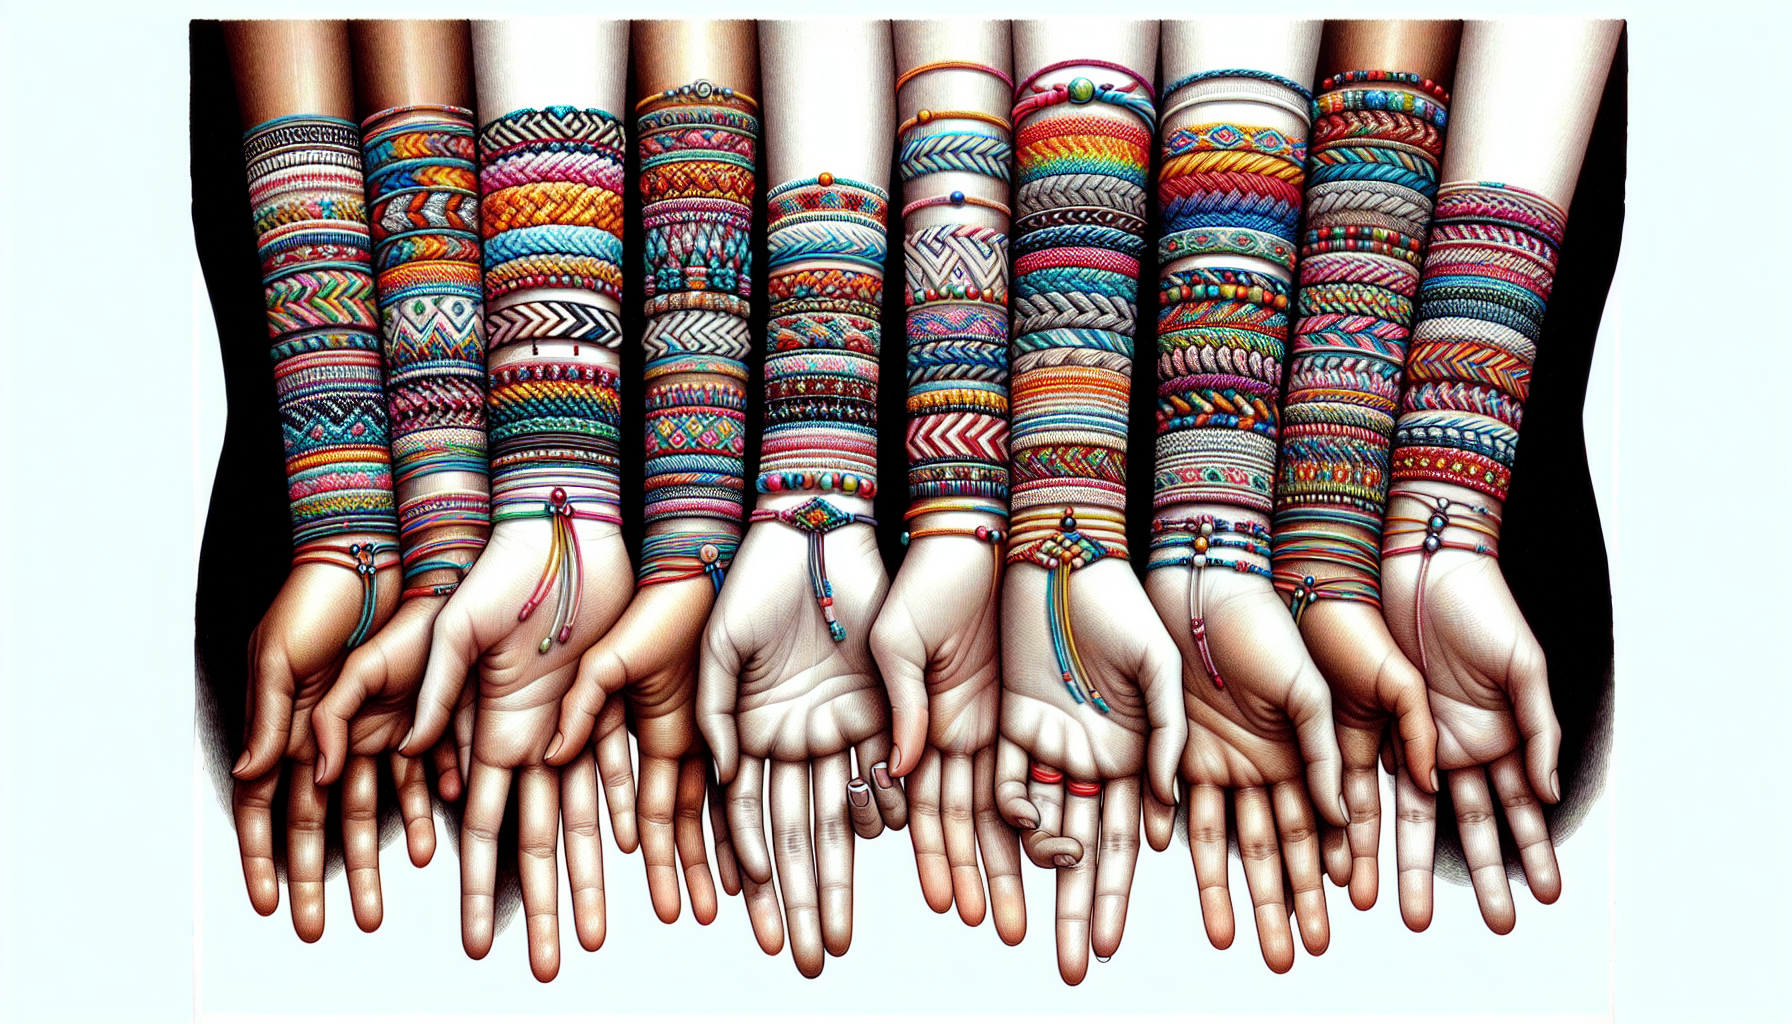
Kudos on accomplishing your zig zag friendship bracelet! Now comes the time to display your masterpiece.
Online communities and bracelets with trackable features encourage the sharing of friendship bracelets, promoting positive connections among crafters. Sharing photos of your creation can help you connect and gain inspiration from other crafters’ work.
Displaying bracelets with Ombre or gradient color schemes can highlight the intricate knotting work and can be particularly effective in photographs shared within the crafting community.
So, why not snap a few photos of your creation and share your crafting journey with others?

Creative Variations on the Classic Zig Zag Pattern
Upon honing the classic zig zag pattern, consider delving into its creative variations. 3D effects add a unique visual aesthetic to the friendship bracelets, offering a refreshing twist on the classic design.
By utilizing graduating shades of the same color or selecting analogous colors, you can achieve a ribbon-like illusion, enhancing the 3D effect in your zig zag bracelets.
This visual enhancement can be showcased upon completion, emphasizing your personal touch and creative skills. If you’re up for a challenge, incorporating a greater number of color shades can give a more pronounced 3D effect, though it will inevitably raise the level of complexity in the crafting process.

Troubleshooting Common Issues While Knotting
It’s typical to encounter a few challenges while fabricating your zig zag friendship bracelet. One common problem is one string becoming too short while knotting. But don’t worry, there’s a simple fix for that. You can extend its length by tying a new piece of thread to the existing short one.
After attaching the new piece, secure the knot with glue and trim any excess to maintain the bracelet’s neatness. Remember, crafting is all about problem-solving. So, don’t let minor issues deter you from creating your beautiful zig zag friendship bracelet!

Summary
From selecting the right materials and mastering forward and backward knots to adding finishing touches and showcasing your work, we’ve covered everything you need to know about crafting a zig zag friendship bracelet.
With practice and patience, you’ll soon be creating stunning bracelets that not only showcase your artistic skills but also make meaningful gifts for friends and family.
So why wait? Unleash your creativity and start crafting your own zig zag friendship bracelet today!
And by the way, if you are just starting out and want a beginners look at friendship bracelets kits, here is the link to an article called, "Create Memories with One of Our Friendship Bracelet Kits!" Here is everything you need and a whole lot more!

Frequently Asked Questions
What materials do I need to craft a zig zag friendship bracelet?
To craft a zigzag friendship bracelet, you'll need embroidery floss in various colors and a clipboard or similar tool to secure the bracelet while working. Enjoy crafting!
How do I maintain even tension while knotting?
To maintain even tension while knotting, remember to be patient and pay attention to the tightness of each knot. Make sure all knots are tied with equal tightness and apply a consistent pull.
What do I do if a string becomes too short while knotting?
If your string becomes too short while knotting, you can extend its length by tying a new piece of thread to the existing short one, secure the knot with glue, and trim any excess for neatness. Hope this helps!
How can I showcase my completed zig zag friendship bracelet?
Share photos of your completed zig-zag friendship bracelet in online crafting communities to connect with other crafters and gain inspiration. Happy crafting!
Can I create variations on the classic zig zag pattern?
Yes, you can create an interesting 3D effect in your zig zag pattern by using graduating shades of the same color or similar colors. Try it out!